How to use Seaa
Short, practical guides to set up Seaa and run your business. Follow the steps, check the result, and get on with your day.
New to Seaa?
Start with your first booking.
Create one service, set your hours, publish your page, and try a booking as a customer.
Follow the setup guide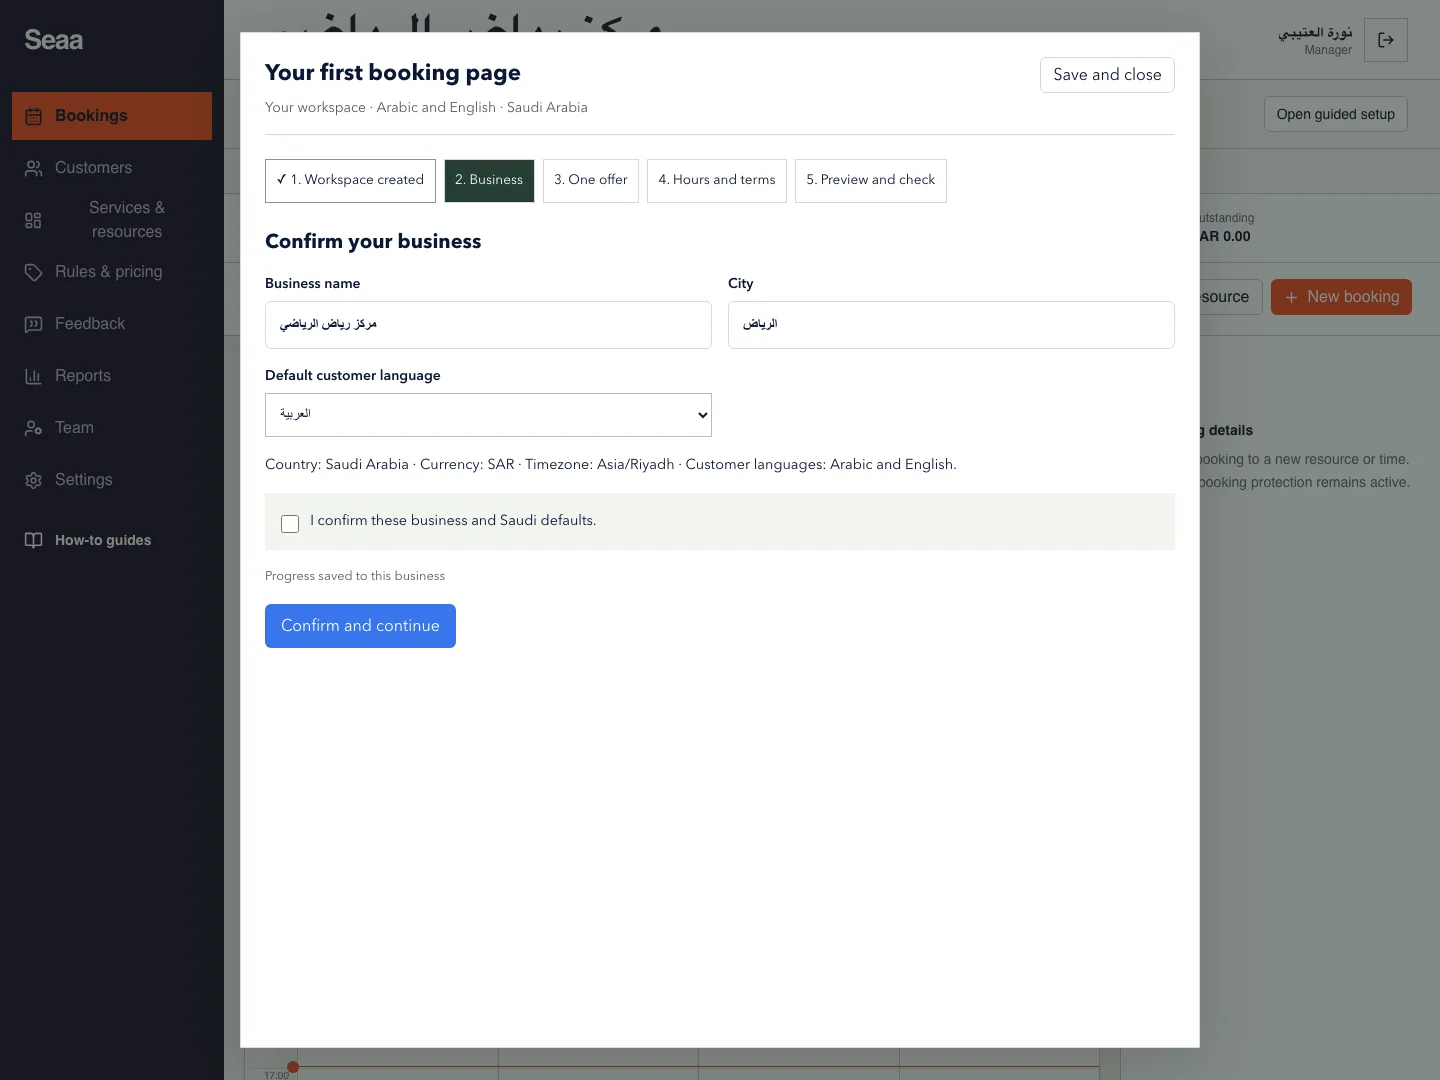
Find your next step
32 short guides, from setup to daily operations.
32 guides
Set up your business
Set up your first bookable serviceGo from a new workspace to a tested booking page.Sign in and open your workspaceUse a verification code and choose the right business.Update your business profile and languageKeep your business details, images, and staff language up to date.Add a place, specialist, or resourceDefine what is available to book and when it can be used.Create and organise servicesConnect each service to the people or spaces that provide it.Offer longer packages and extensionsLet customers book extra time with a clear total price.Set opening hours and availabilityControl the days and times customers can book.Set prices and bulk-edit ratesCreate default, service, resource, and member rates.Set booking, payment, and cancellation rulesChoose advance notice, booking windows, and how guests confirm.Publish booking termsGive customers the conditions they must accept before booking.
Run your bookings
Block time for holidays or maintenanceClose one resource or the whole location for a specific period.Accept bank transfers and record paymentsShow payment instructions and keep each booking’s balance accurate.Set up invoices and payment receiptsSave the business details that appear on booking documents.Use the booking calendarFind reservations and switch between day, week, and month.Add a phone or walk-in bookingKeep reservations from other channels in the same calendar.Reschedule or amend a bookingMove an existing reservation without creating a duplicate.Cancel a booking and check refundsSeparate the reservation status from money returned to the customer.Test the customer booking journeyFollow the same steps your customers use to reserve and manage a time.Use the waitlist when a time is fullHelp customers request an unavailable time and claim an offer.
Publish and share
Share a short link or download a QR codePut a working booking link in your bio, messages, or printed materials.Build, preview, and publish your websitePut your identity, services, booking, and contact details on one page.Create a social link pageShare one compact page for booking, social profiles, and contact.Use your free address or connect a domainFind your public links and connect a domain you own when enabled.
Customers and team
Export or anonymise a customer recordFind the right record and use its data controls carefully.Find and add customersUse customer records to find booking history and memberships.Create member types and assign membershipsSet member booking windows, discounts, dates, and credit.Invite staff and manage accessSend an invitation, assign a role, and remove access when needed.Help customers use their accountExplain customer sign-in, profile details, and booking access.
Follow up and improve
Enable booking alerts and check deliveryVerify your alert email and follow customer-message delivery.Read feedback and respond to reviewsFilter booking feedback, reply publicly, and report abuse.Review performance and export reportsCheck bookings, collected payments, cancellations, and refunds.Fix common setup and booking problemsWork through the most common reasons a page, slot, or message is missing.